Making a mock-up model of your bag
Seeing a design in a folding plan on your screen is a world away from having the actual bag in your hands.
If you can’t wait until your bags are ready, you can make your own mini mock-up model.
Why is this useful to make a mini model of your bag?
It gives you a first idea of what the colours will look like on paper. A screen works with light, which gives a completely different effect than a printed colour. Read all about it in the blog article: “Colours explained: CMYK vs Pantone”.
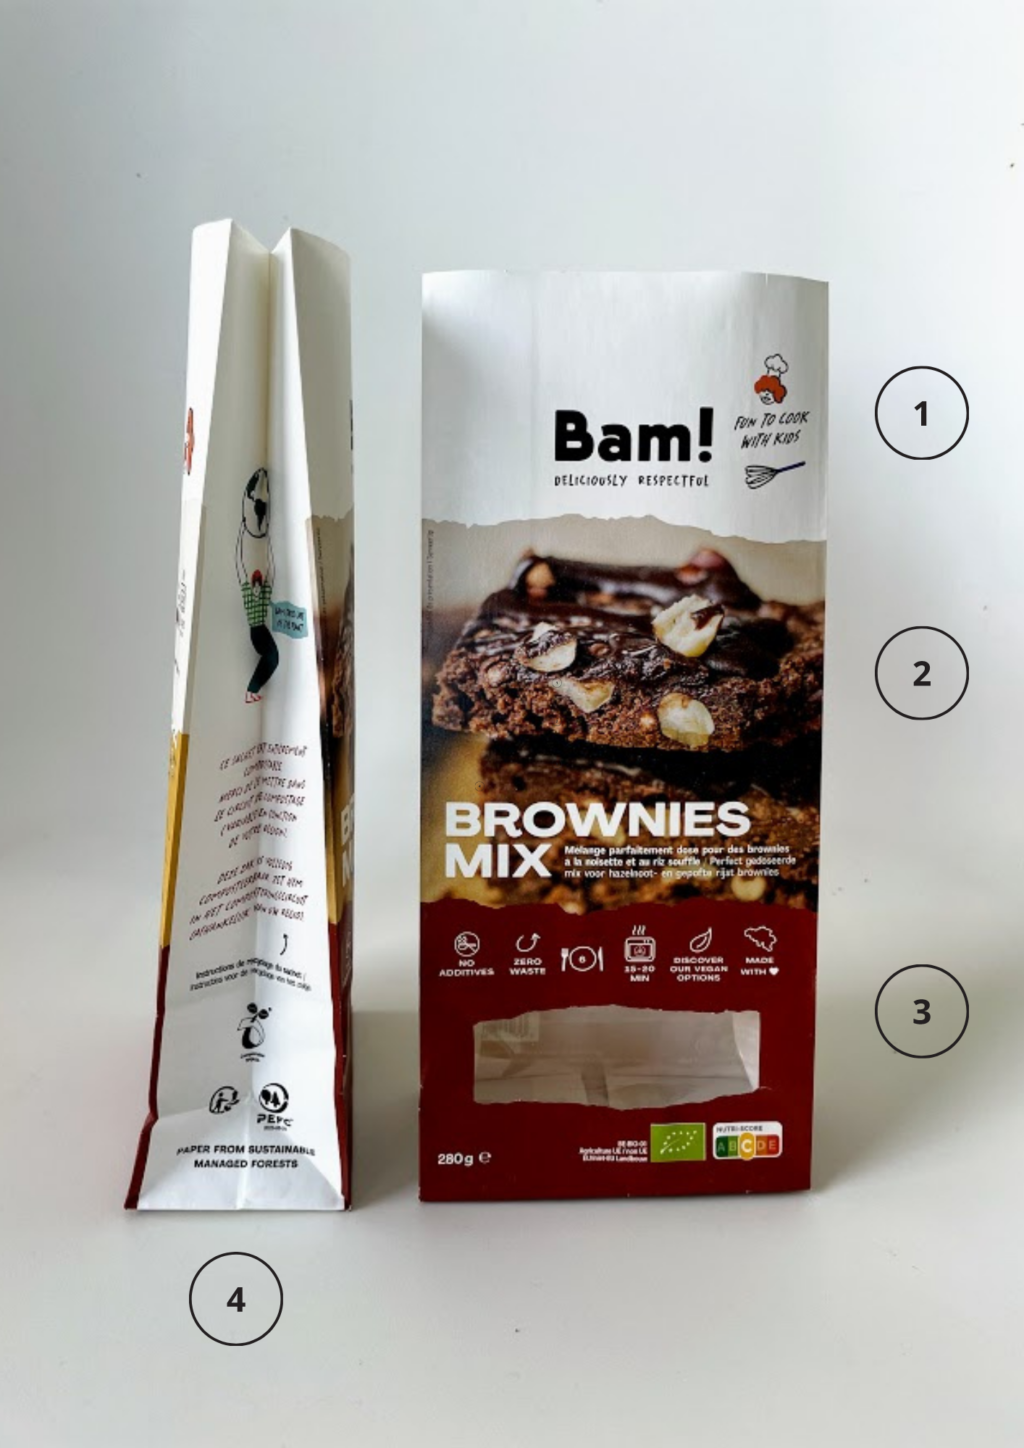
In addition, it also helps you to see whether your design is entirely successful. Everything may look perfect in a folding plan, but does it still work in your 3D model? Here are a few things to bear in mind when you turn your folding plan into a mock-up bag:
-
Is there enough room at the top to close your bag?
-
Are your images clearly displayed? Even if part of the image goes into the side fold?
-
Is the window well positioned? Does part of the image or text disappear behind the window?
-
If there is text in the side fold, is it still clearly legible?
-
Is your packaging generally “balanced”?

How do you make a mock-up model of your bag?
Follow these steps or watch the video:
-
Print your folding plan
-
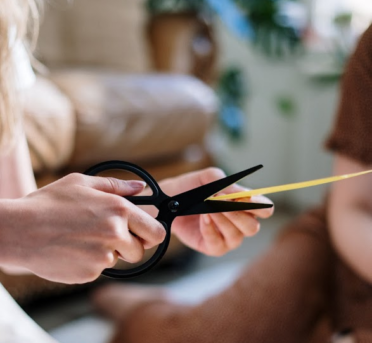
Cut the folding plan out
-
Fold the vertical lines inwards
-
Fold the horizontal lines inwards
-
Cut the small vertical lines of the bottom
-
Make a side fold
-
Fold your design to create a 3D bag
-
Glue the underside and sides
Your mock-up model is already a step towards the real thing. Of course, you still have to wait for your final bag. Only then will you see the full effect of printing on high-quality paper using the latest printing machines and techniques!
Interested in coming to approve your colours when they’re being printed by our production team? Don’t hesitate to contact us!
